The top toolbar of the Scott Plot® chart screen provides quick access to the following functions.
Sync
The icon indicates whether the application is Synced or Not Synced.
Tap this icon to access the Sync System screen.
See the Sync System category for more information.
Weather
METAR/TAF weather data can be turned OFF or ON via the Weather Data button.
GPS Source
Select the GPS Source icon to:
Change GPS source (see the GPS & Connectivity category)
View current GPS location, altitude, and horizontal-vertical accuracy
Enable or disable GPS functionality
UTC Time and Date
The current UTC time and date display in the top toolbar.
Flight Plan
Select the flight plan icon to view the active flight plan that was chosen from the Preflight Wizard.
Use the adjust icon to adjust the size of the flight plan view.
You can zoom in and out of your flight plan in the flight plan view.
Note: If no flight plan is displayed when selecting the flight plan icon from the toolbar, then a flight plan needs to be confirmed in the Preflight Wizard Select Flight Documents step.
To make annotations on the flight plan, use the annotations toolbar, which can be accessed by tapping the annotation button on the left toolbar. See the App Annotations article.
Checklists
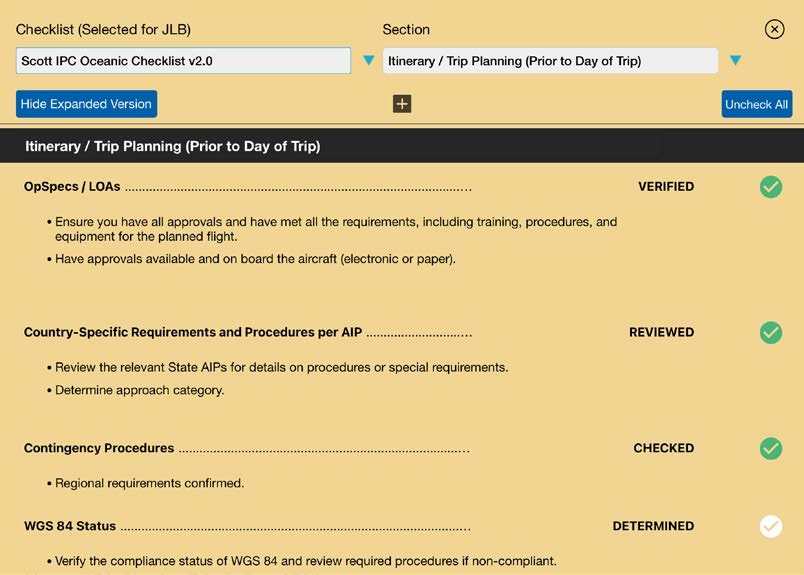
Select the checklist icon to view the checklist selected or created in the Preflight Wizard. If no checklist is shown when selecting the icon, one was not chosen in the Preflight Wizard, and you can either create a new checklist, select the default Scott IPC Oceanic checklist, or select a previously created checklist.
Using the Checklists
Tap the checkmarks to turn the mark green and indicate a completed task.
To clear all checkmarks, tap the Clear button at the top.
Use the Uncheck All option in the Approaching and Passing Waypoints sections to reset the checkmarks in only those sections within the default Scott IPC Checklist.
Modifying a Checklist
Select + to create a custom checklist or modify an existing one.
Add a title to the section.
You can add a new section, edit a section, delete a section, and add an Uncheck All option to individual sections of your checklist.
Type in your list item and select Update to add a new line to your checklist. You can add another entry, edit an entry, or delete an entry.
Select Save to save your checklist.
Select Discard to delete all of your changes, or X to close the checklist.
You can continue to make edits after you save your custom checklist — select below the checklist title to make further changes.
Note: After selecting to create a new checklist, be sure to name the checklist.
Notifications
Tap the bell icon to view any in-app updates or notifications.